Photographing 47 Tucanae
13 March 2019
This is my third "you can do this" post (there might be more, because I'm taking the telescope up to the dark sky site for a shot at Jupiter next).
Just to recap, I borrowed the monster 127mm saxon FCD100 triplet APO refractor from work the other day (did I say I love my job?) and set it up in my front yard. The pictures I've published so far have been without any of the magic stuff that the pros use, like autoguiding, stacking or complex Photoshopping.
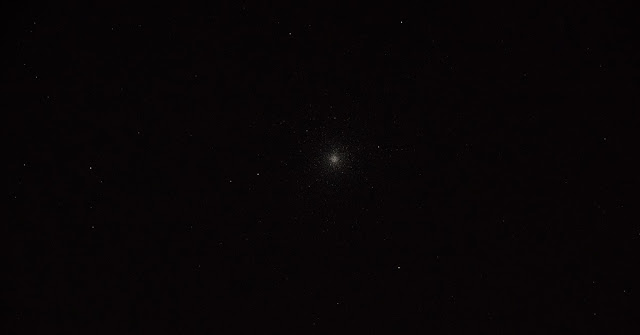
This is a final photo of stars - it's 47 Tucanae, the famous globular cluster near the Small Magellanic Cloud.
The first photo you can see is the whole field width (cropped and resized for Facebook, so it's a little postboxy). The photo shows roughly how large 47 Tuc is in the field when using a telescope of 952mm focal length and a normal sized (not full frame) DSLR.
 This second photo is a crop of the first, because the camera sensor gives us heaps of pixels to play with.
That's it. It was a single photo, 10 seconds at ISO 800, in a light polluted street in Kew in Melbourne. The mount was my own NEQ6, which was tracking and roughly polar aligned. It was pretty close, less than a degree out, but when you're taking short exposures, roughly polar aligned is good enough.
Longer exposures would need more care in alignment.
My point is that you can do this yourself.
Play around with the scope, camera settings and stuff, brighten it on the computer, and don't forget to shoot in RAW!
If you have any questions about any of this - put them in the comments section below. I try to respond to all the comments, even if it's just a "like"!
I'm hoping to get shots of Jupiter shortly, but don't hold your breath as the weather isn't looking amazing.

Comments
Post a Comment