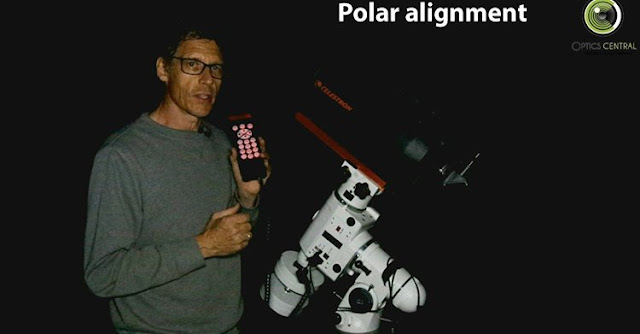
How to polar align a computerised mount using the hand controller - video
3 June 2019
Need more help polar aligning that go-to equatorial mount? I've just published a video on how mounts with SynScan hand controllers (that's mounts such as the EQ3 go-to, HEQ5, NEQ6-Pro, EQ6-R, AZ-EQ6 or EQ8) help you got aligned.
You don't need a polar scope, just the mount, a SynScan handbox, a well-aimed finderscope and the telescope.
(I don't cover Celestron go-to mounts here, like the Advanced VX, CGX, CGEM-II, or CGX-L. Celestron's routine is similar, but with a few minor differences. I've done it with a CGEM-II and believe me, it's very much the same.)
Very basically, this is the routine:
Rough alignment
You set up the scope as close to polar aligned as you can (with the mount pointing due south and the altitude set to your latitude).
Three-star alignment
Turn on the mount and do a 3-star alignment. This will end with the handbox telling you how far off the pole you are. (The errors are called "maz" and "mal".)
Polar alignment
Next, do a polar alignment (it's in the hand controller menu just below the 3-star alignment). This will aim the scope at a bright star, ask that you make sure it's centred in the eyepiece, and then deliberately move it off a bit. Your job is to get the star back into the middle of the view using ONLY the adjustment bolts - not by slewing the telescope.
This adjustment will greatly improve your polar alignment, which will mean your slewing will be more accurate. Tracking is better too, so any photos you take will be better. All over, getting a good polar alignment will improve your whole night's viewing.
Another three-star alignment and another polar alignment
If you want, you can improve the polar alignment even more by doing a new 3-star alignment, then repeating the polar alignment procedure again. It's an iterative process, so the more times you go around, the better it gets. Twice is probably enough though, and three times will give you an excellent alignment.
That's it!
I had to shoot the video in the dark because this is one type of demonstration you just can't do during the day!
Shooting videos at night is a pain - not least because I had to do it at the dark sky site when there was nobody else there. Using bright white lights at a dark sky site is more than a faux pas in the astronomical community, believe me!

Comments
Post a Comment